BEIL0014 Fuel tank
BEIL0014 Fuel tank
In multi disciplinary team's of 10, we were required to create a 1:1 scale template replicating one of the motorcycle fuel tanks supplied.
Our group members were:
Moonjin Kim
Eu Gene Hyun
Louis Yu Tak Cheung
Iverson Chun Yat Chiu
Yixuan Zhang
Yihui Wang
Wing Yan Chick
Alex Sostres-Roberts
Eu Gene Hyun
Louis Yu Tak Cheung
Iverson Chun Yat Chiu
Yixuan Zhang
Yihui Wang
Wing Yan Chick
Alex Sostres-Roberts
We are given choices of two different motorbike fuel tank, after discussed with my teammate, we decided to go for the easier version as it consists less curves and relatively simpler shape to construct and replica with aluminium sheet. We selected the Harley 883 Iron fuel tank.


Tools needed:
Aluminium sheet
Laser cutter machine
Mallets
English Wheel
Sand bag
Software program needed:
Autodesk Recap
Fusion 360
Illustrator
Stage 1 - Multidisciplinary team work
Before all the hard work and hammering work starts, making the template is the first step of the assignment. We decided to create a 3D model using Recap which can later print out using the laser cutting machine to create a actual 1:1 plywood template. Photos need to be taken in order to make the 3d model, we ended up taking 50-100 photos in different angles of the fuel tank showing every details, which then collate in Recap to make a 3D model.


We even made a time lapse video for it:
Then we put all the images in Recap which then can generate a 3D model of the fuel tank. We had to insert one dimension, and the rest were automatically generated.


We then exported the '.rcm' type file as a '.obj' file to import into Fusion360. Fusion360 Slicer is a tool which cuts up 3d models and generates templates that could be later laser cut and assembled into a actual 1:1 plywood model.
Inputs for Fusion360 Slicer:
Sheet size: 800x500
Sheet thickness: 6mm (this is important as it will create the notch widths for the templates to interlock with eachother.)
Model size: (W) 400mm, we put in one dimension which automatically generated the rest of the dimensions.
(H) 209mm & (L) 494.342mm
Construction technique: interlocked slices
Slice distribution: 1st Axis - 15 / 2nd Axis - 15

Once we got the pdf's of the templates all ready with correct lineweight and colour, we imported it into Illustrator and soon we were ready to laser cut the templates to get the skeletal 1:1 scale model of the fuel tank. We choose to use 6mm thick plywood for the material.


Once we got all the plates successfully printed out, we immediately assemble it with hammer as the slots are quite tight. we even manage to break one plate as the tight fit of the plate, reprint is needed. The slicer automatically inputs numbers on the plate which indicate the location of the template.


Below is the finished product of the 1:1 plywood model, we were satisfied with the end result, but then we found out the model isn't symmetrical, we thought it would not be a huge issue as discussed with Russel, he told us as long as we can make the aluminium fit with this plywood model, then it won't bother with our grade. I was not satisfy with the plywood model, but the laser cutting machine was fully booked, therefore we have to continue with what we got.


Wrapping the model with cling film can gives us a smooth and round surface of the model which can help making the paper template and divide the parts.


Stage 2 - Group work
Our group consists of 9 people, we split into groups of 3 to work on portioning the Fuel tank. Our group member:
Chun Yat CHIU
Yu Tak CHEUNG
Alex Sostres-Roberts
After wrapping the model with cling film, we then wrap the model with paper again covering all the surface area. We had to fold according to the curvature of the model and taped the edges to create a paper template. Furthermore, dividing the paper template into 3 parts which will be the parts we work on as a group of three.


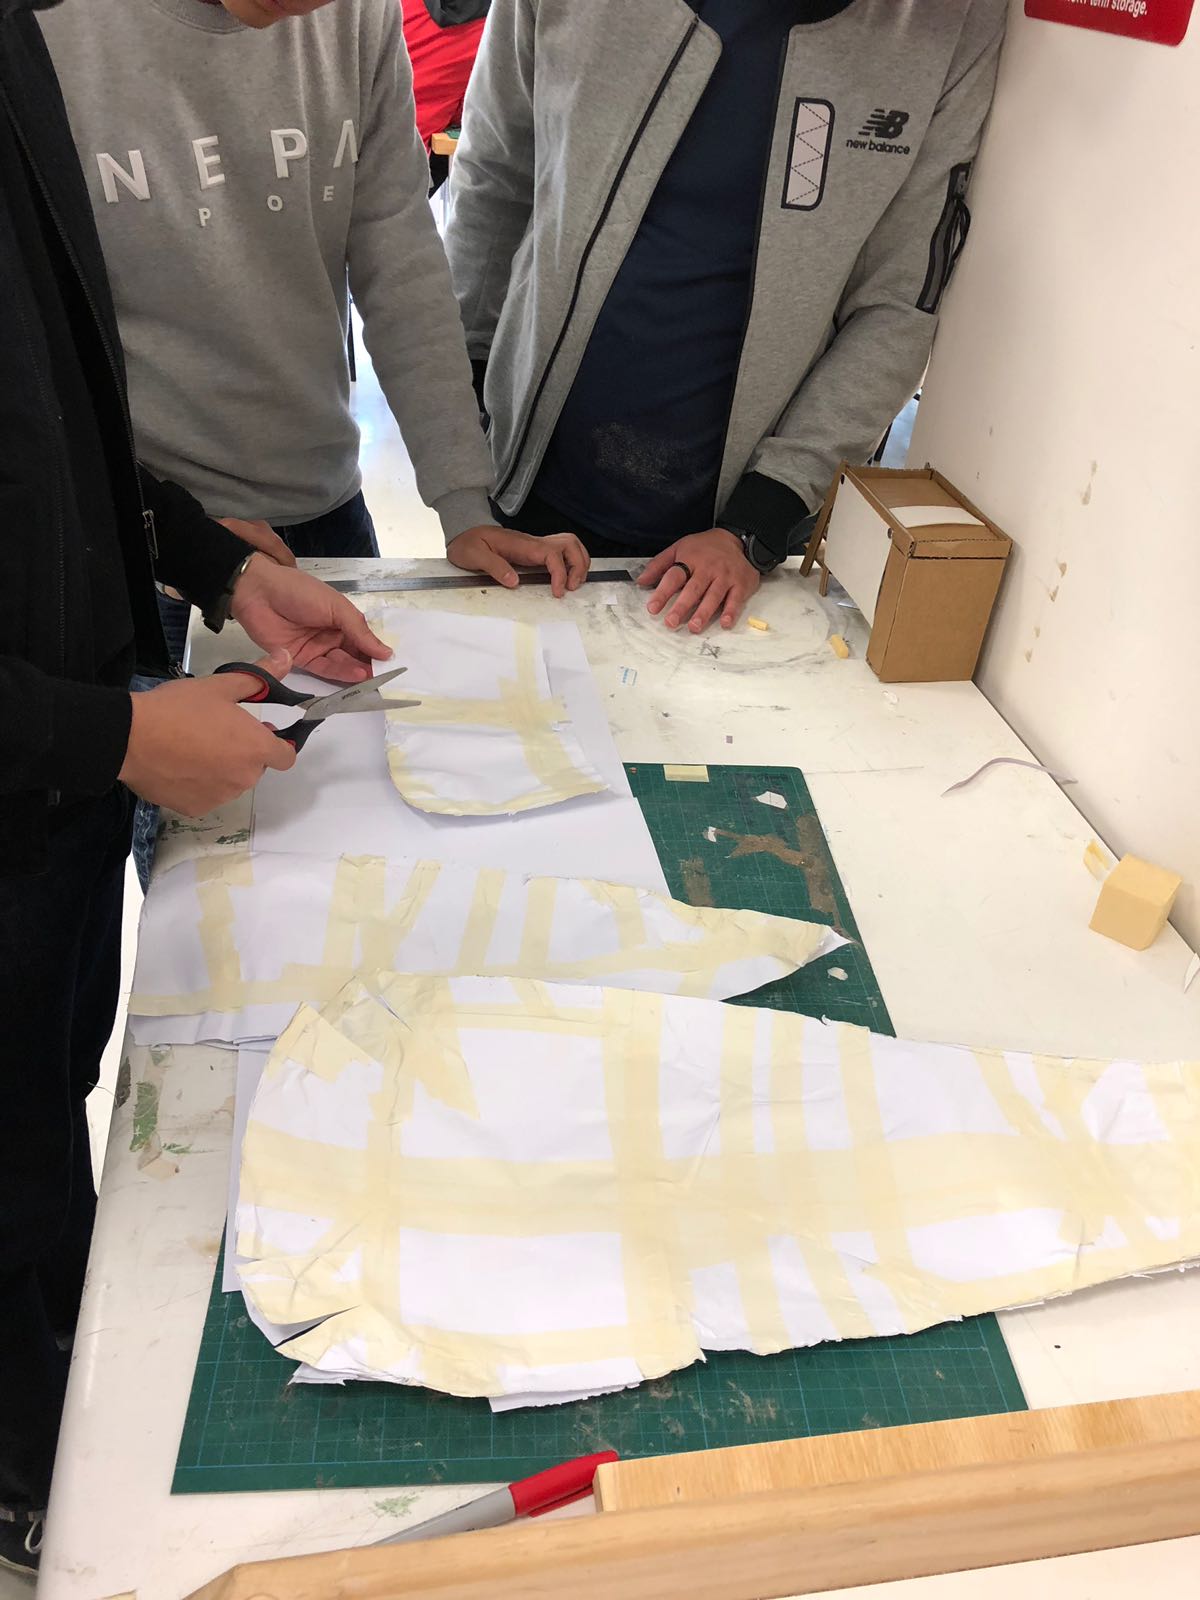
Stage 3 - Aluminium sheet hammering
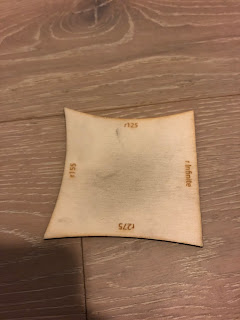
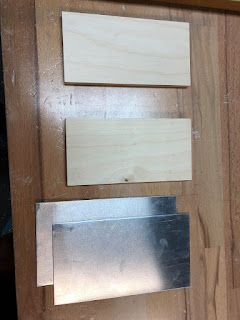
First i cut out the pieces i needed, it is easier than the previous project because we have the paper template.


The corner of the metal is hardiest part to do, since it is a concave curve in two directions.

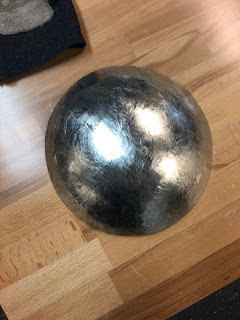
Then i used the english to smoothen the surface that was hammered with the mallet

Then we tried to hammer the metal on the model with the help of other holding it to fully replica the shape of the fuel tank.

As you can see, both sheet held on very good except the corner which is the hardiest part, but the asymmetry of the model increases the difficulties of matching the model.


As you can see the model down below, the centre line we measured is not matching the middle plate of the model, which is very hard for us to adjust accordingly and creating two different sides also makes it difficult.

Final result:


The critical part of this assignment is to create a symmetrical 3D model of the fuel tank and the divide of the paper template which will impact the end result the most, the more curve part the difficult the project will become. Better take your time to prepare before the actual hammering work is done.
Comments
Post a Comment